Bring your own cloud (Cloudflare R2)
Point Pileless at your own Cloudflare R2 bucket so your files live in your storage — never on ours. About 15 minutes, one time.
Why do this?
With Bring-Your-Own-Cloud, the actual documents in a decision sit in a bucket you own and control. Pileless reaches them only through short-lived links and never keeps a copy. If Pileless were ever breached, your files aren't there to take. See Security for the full picture.
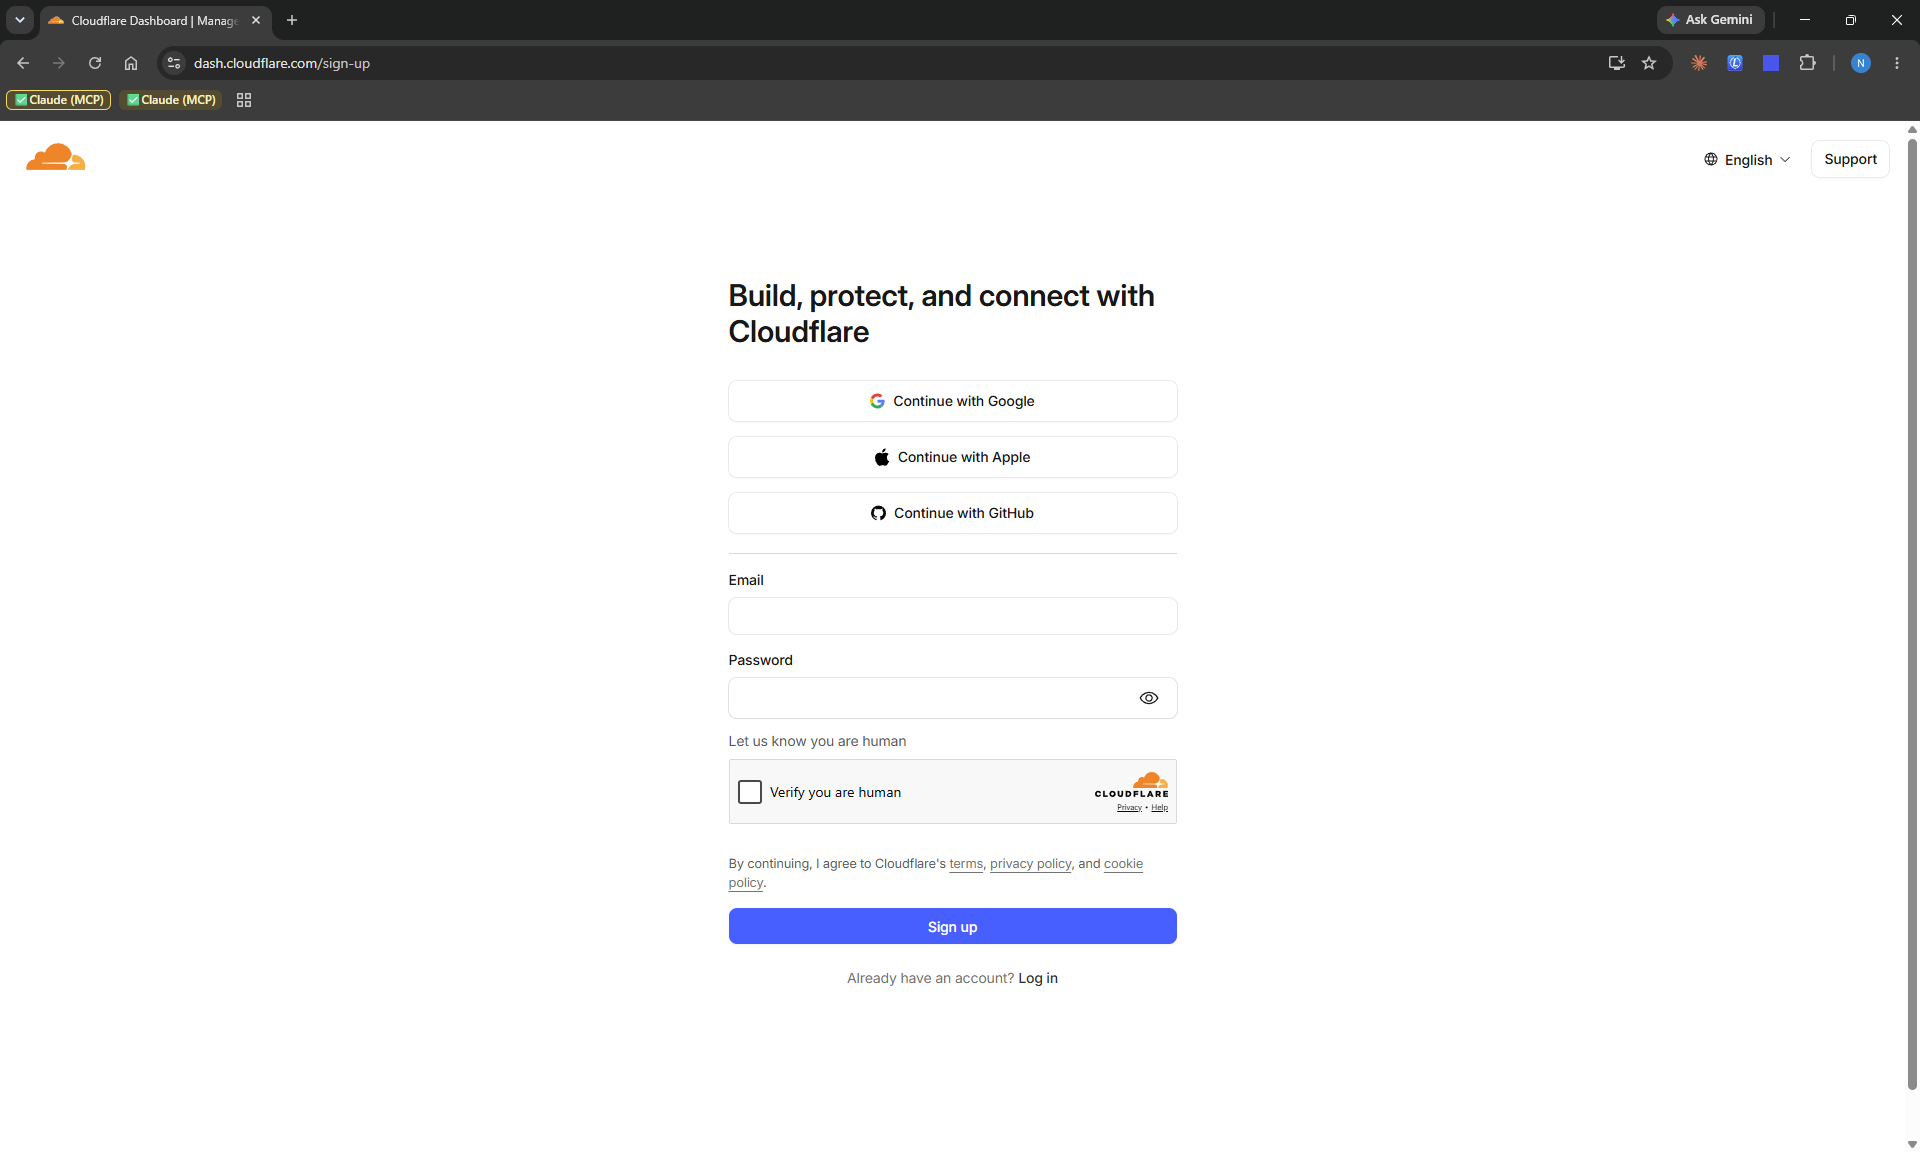
1. Create a Cloudflare account
Go to dash.cloudflare.com/sign-up, enter an email + password (or continue with Google / GitHub), and verify your email. Skip this step if you already have an account.
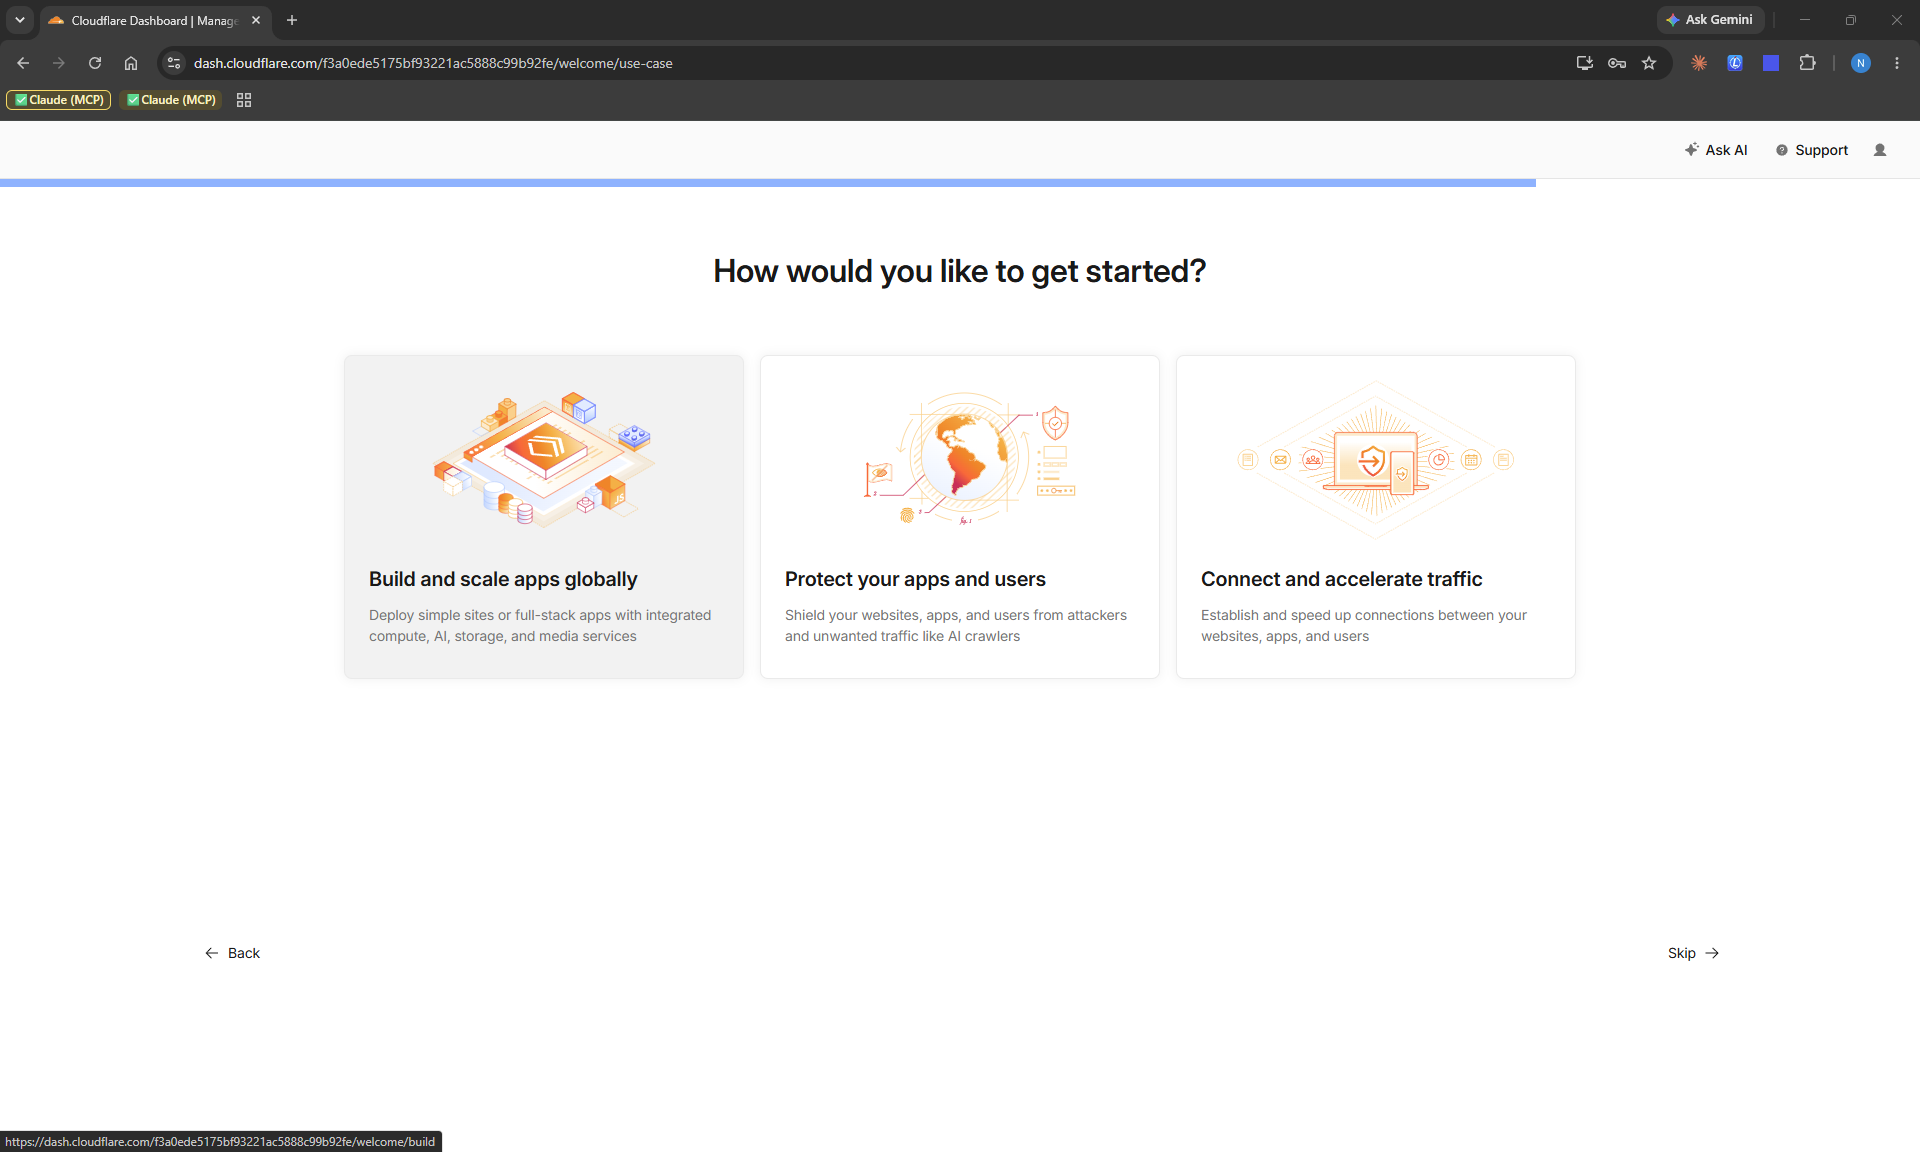
Cloudflare may ask a couple of onboarding questions — pick Build and scale apps globally (that's where storage lives) or just Skip; it's cosmetic.
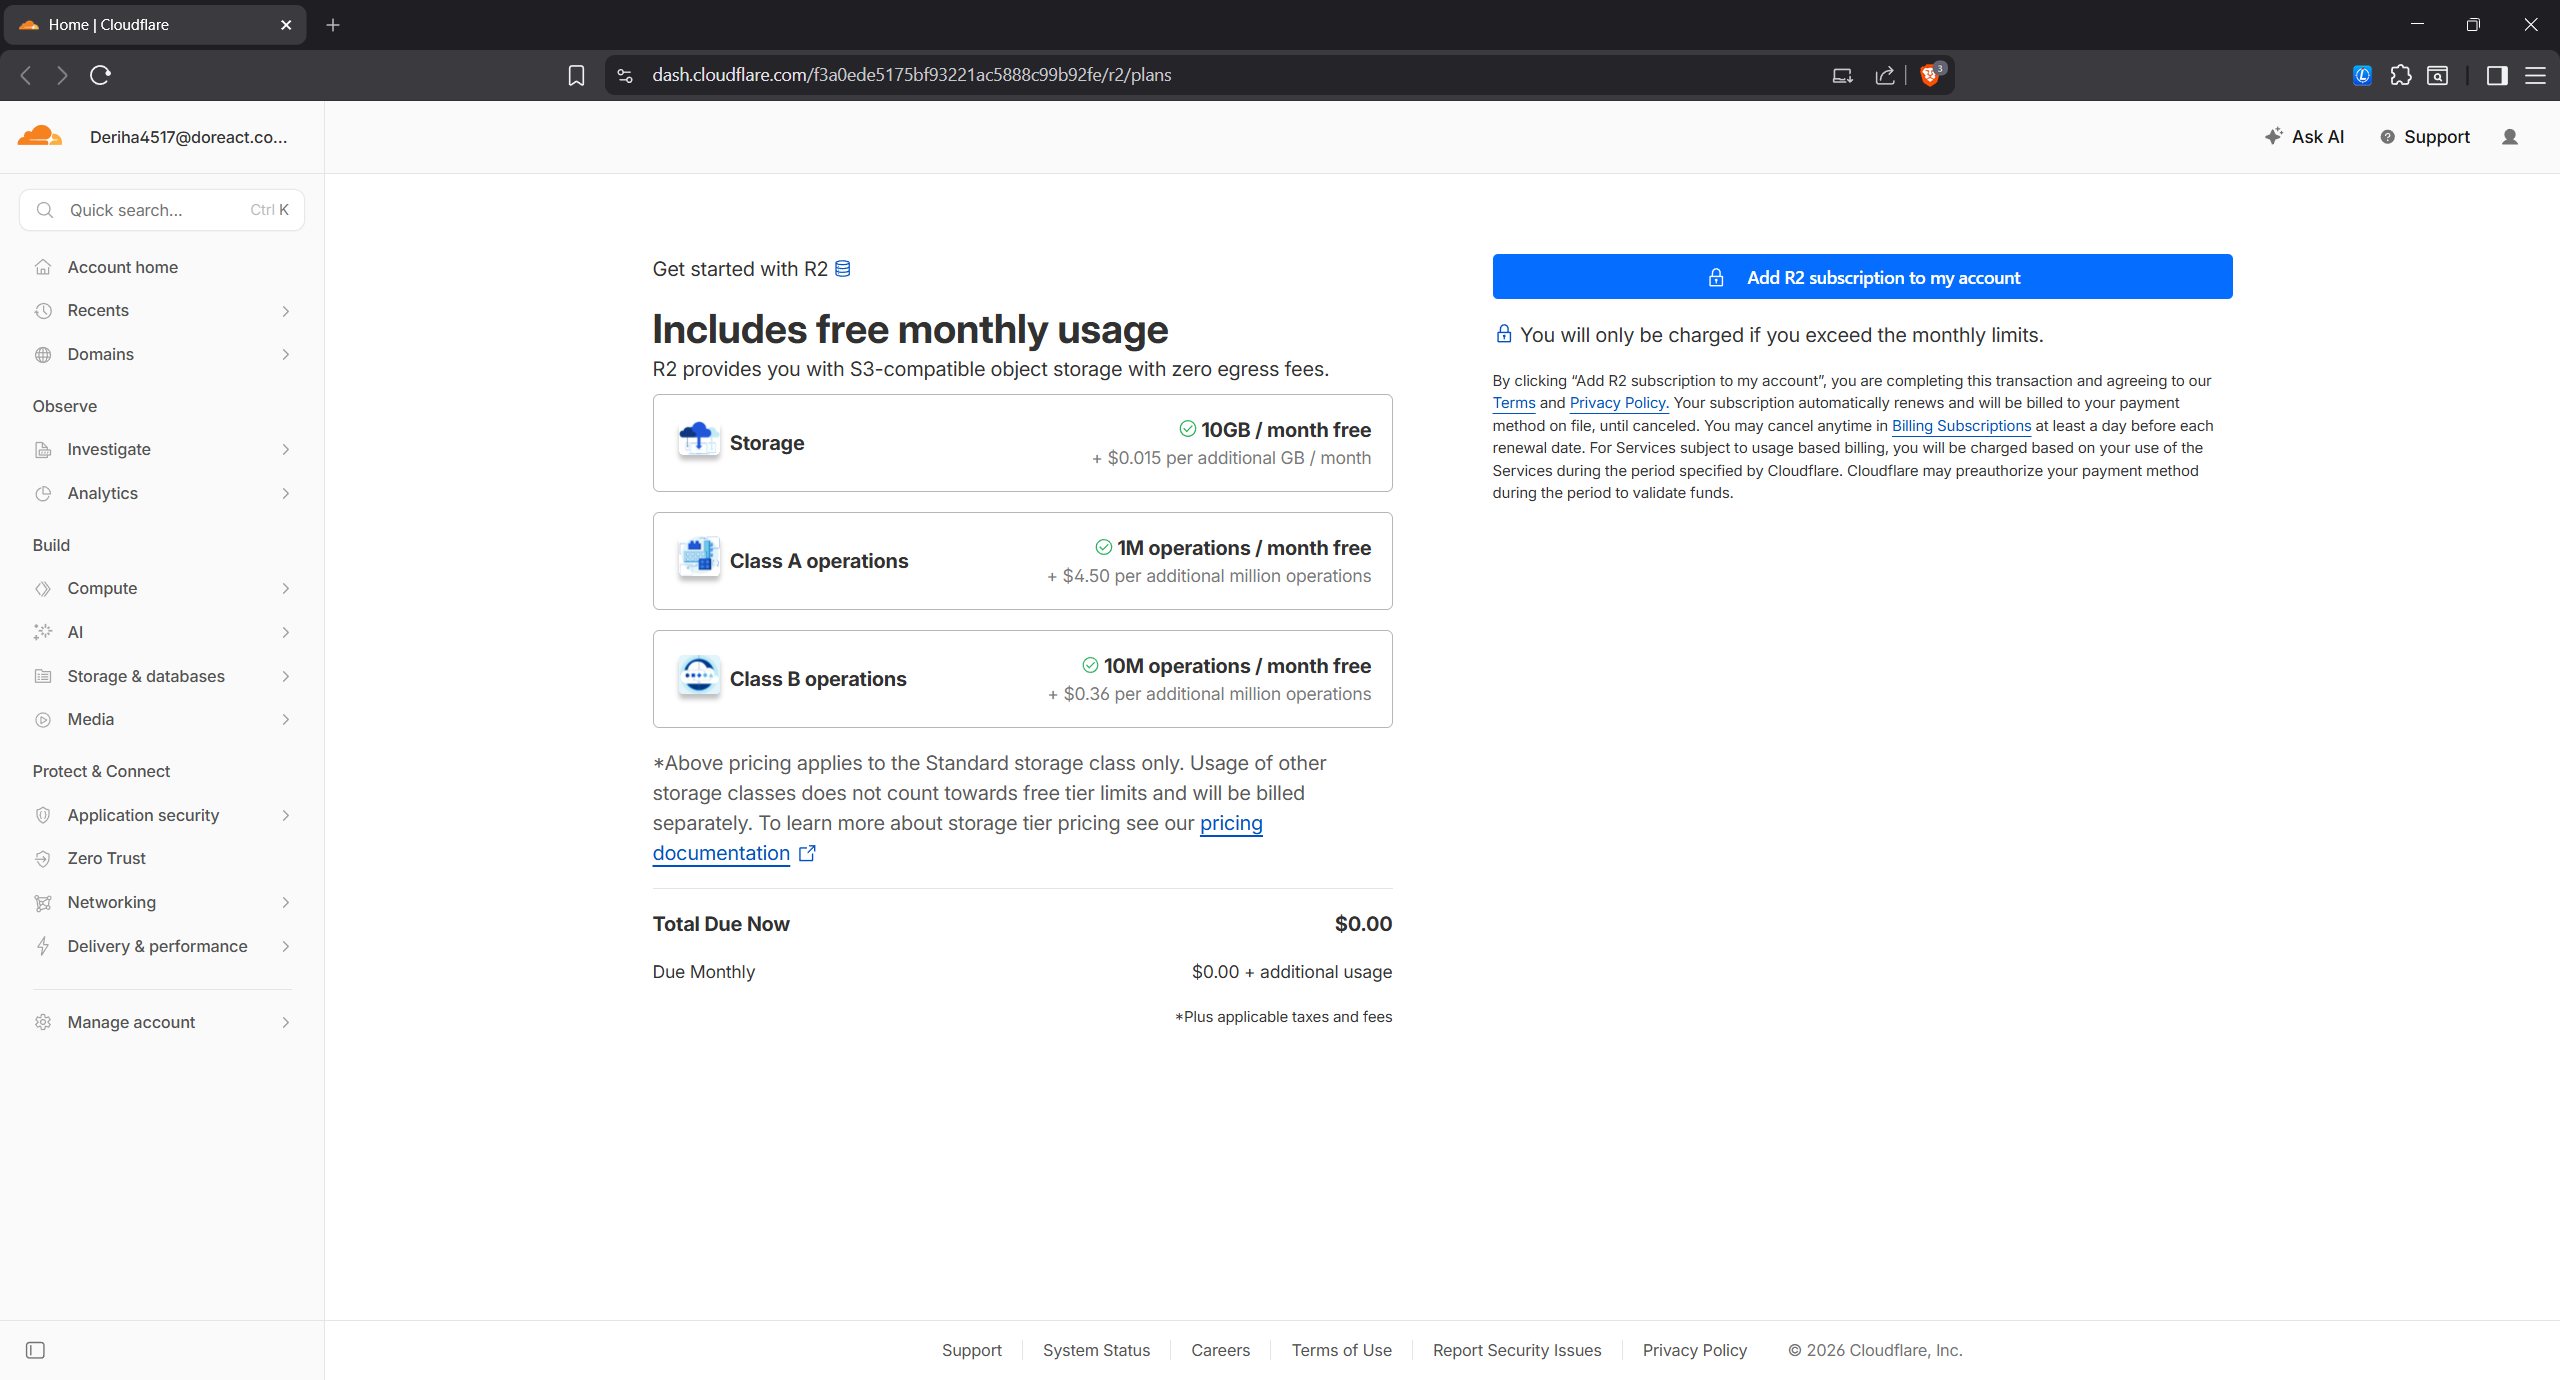
2. Enable R2 object storage
In the dashboard, open R2 Object Storage (under Storage & databases in the left sidebar). Click to enable it and add a payment method when prompted — the free tier covers 10 GB and won't bill you under the limits.
3. Create a bucket
On the R2 Overview page, click + Create bucket, give it a name (e.g. pileless-files), keep the default location, and create it.
Two values you'll need later are right here on this page, in the Account Details panel: your Account ID and the S3 API endpoint.

4. Create an R2 API token
Still in R2, open the API Tokens → Manage panel (right side of the Overview), then Create API Token. Choose the Account API token (recommended — it stays active even if a user leaves the org; the User token would silently break the connection later).
On the token form:
- Name it
pileless - Permissions: Object Read & Write
- Specify bucket(s): Apply to specific buckets only → your bucket
- TTL: Forever
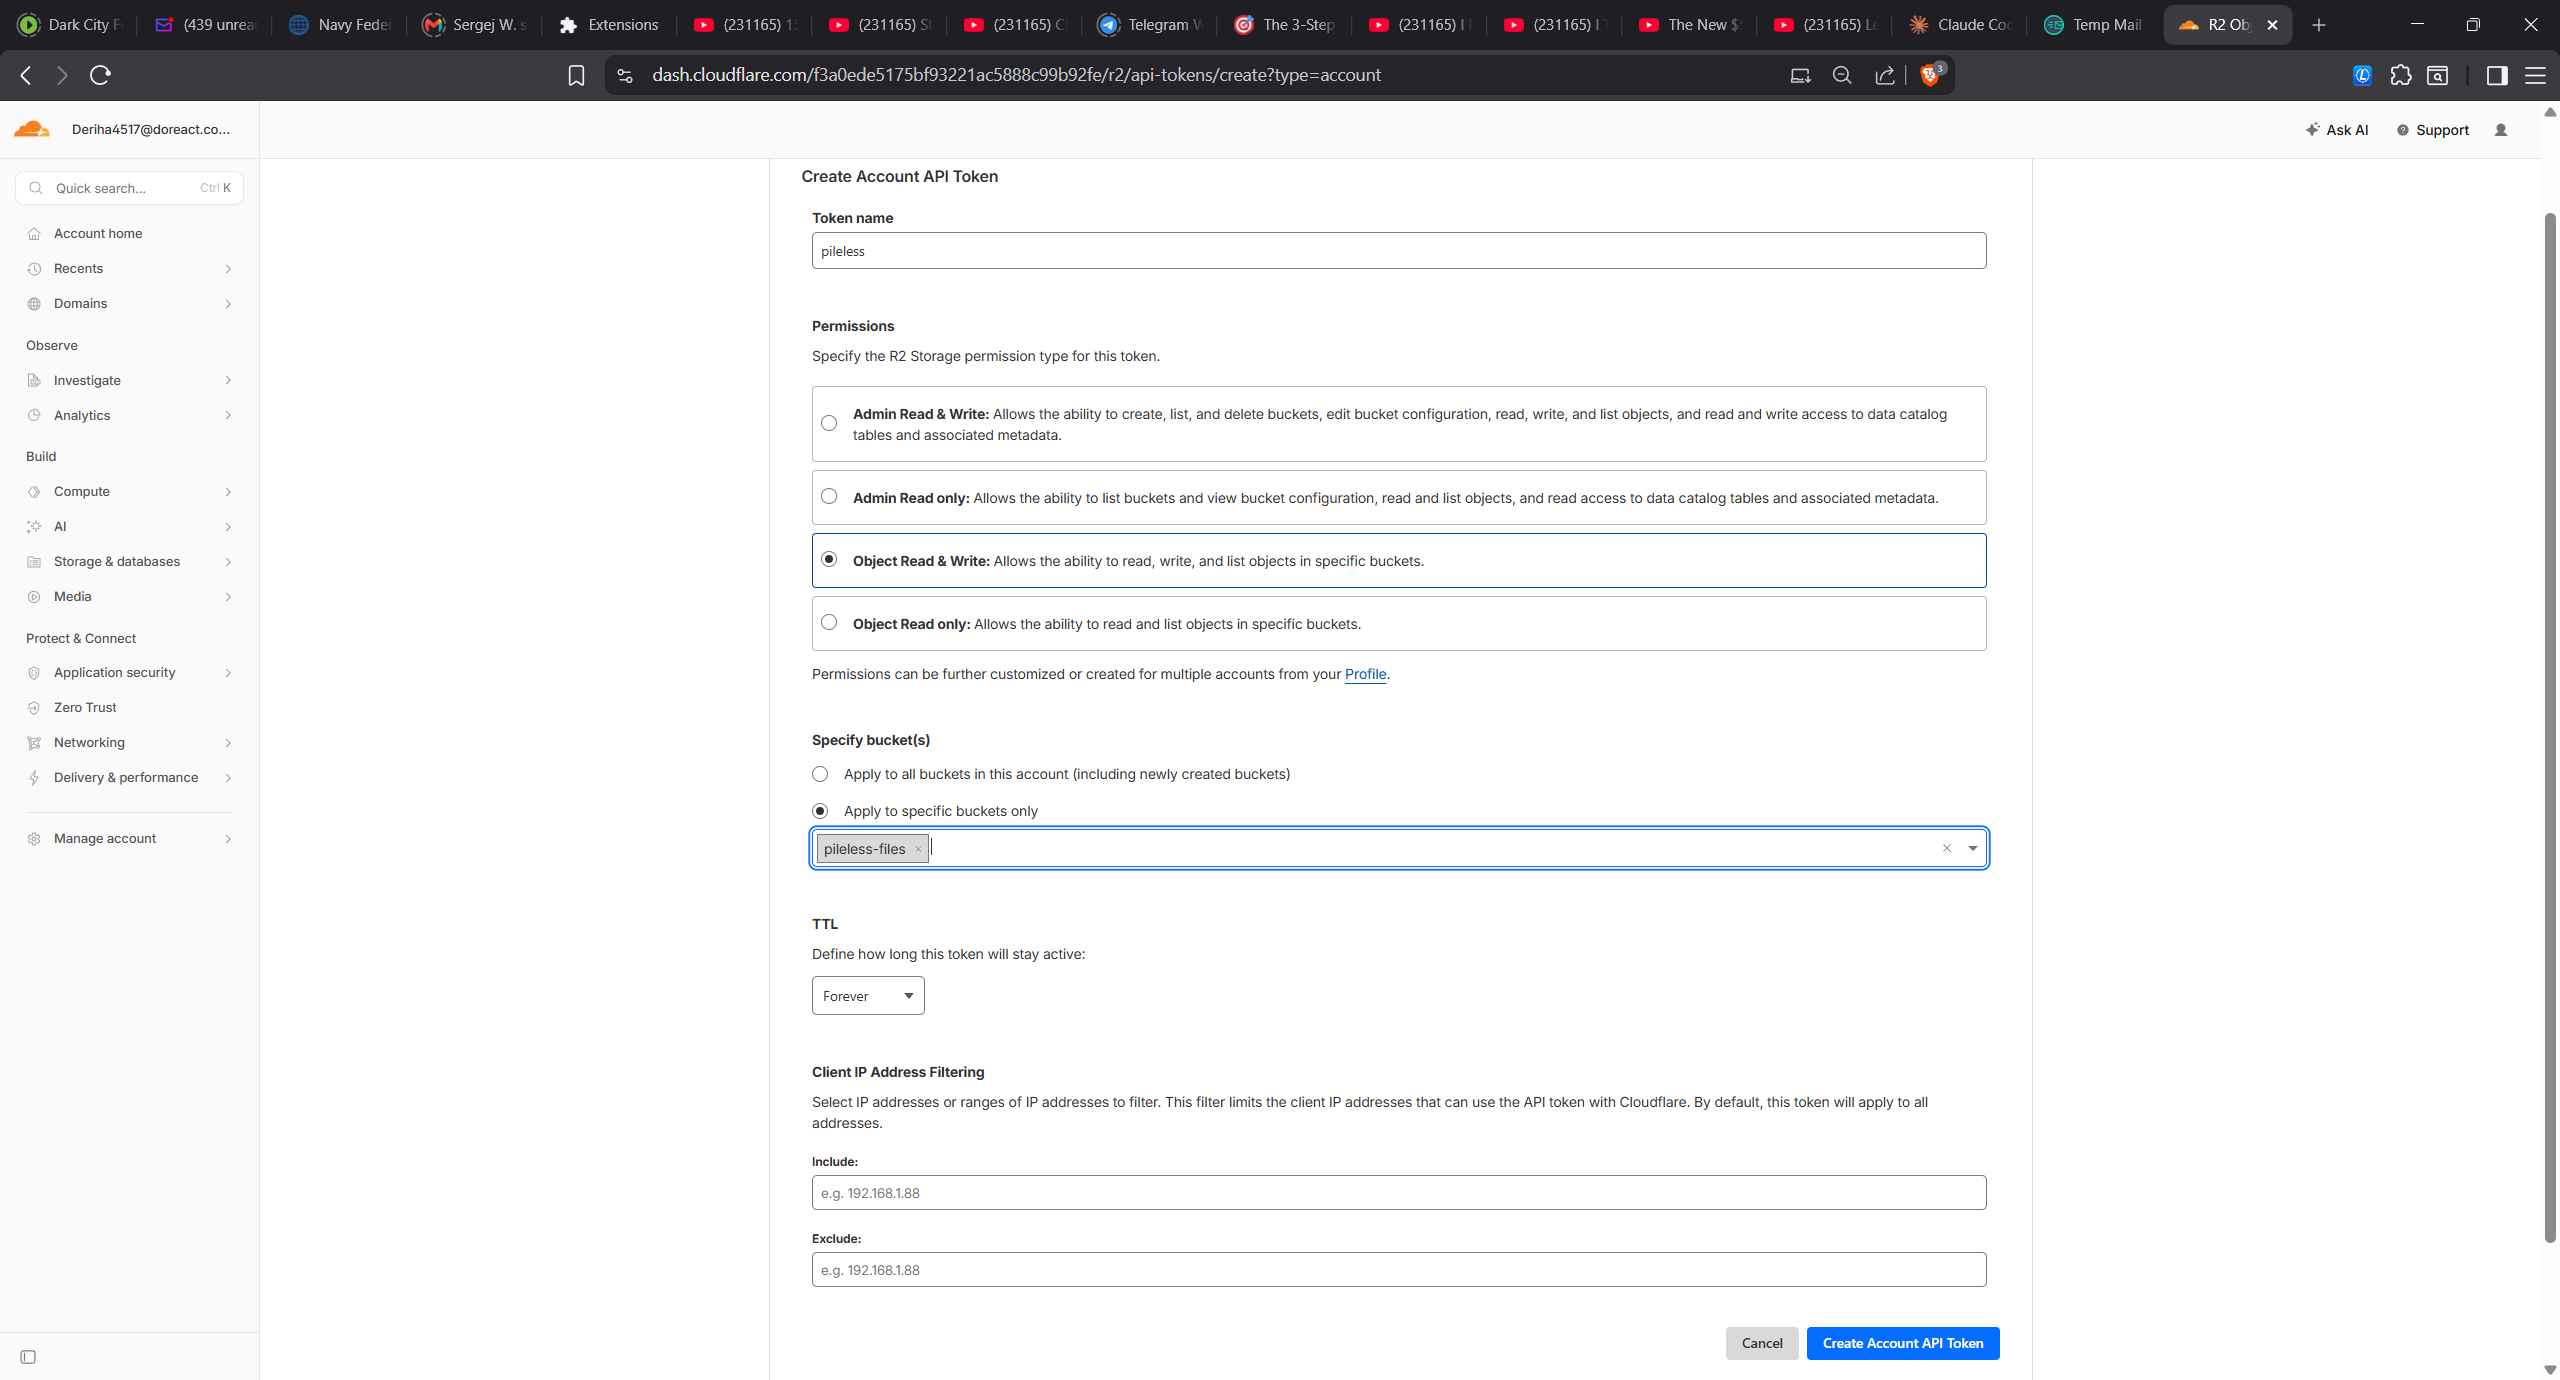
Click Create Account API Token. Cloudflare now shows — once — your Access Key ID, Secret Access Key, and the S3 endpoint. Copy all three immediately; the secret is never shown again.
5. Allow Pileless to display your images (CORS)
So Pileless can render images stored in your bucket, add a CORS rule. In your bucket: Settings → CORS Policy → Add CORS policy, and allow GET/HEAD from the Pileless origin:
[
  {
    "AllowedOrigins": ["https://app.pileless.com"],
    "AllowedMethods": ["GET", "HEAD"],
    "AllowedHeaders": ["*"],
    "MaxAgeSeconds": 3600
  }
]AllowedOrigins too.6. Connect it in Pileless
Finally, in Pileless go to Settings → R2 and paste the four values:
- Account ID
- Access Key ID
- Secret Access Key
- Bucket name
Click Validate (Pileless round-trips a test object to confirm the credentials work), then Connect. From now on, your files land in your bucket. You can disconnect or rotate the token any time.